How to Install Low-Flow Showerheads: A Step-by-Step DIY Tutorial
Hello, welcome to my website. Want to take full control of your financial future? At Keygenpost (https://www.keygenpost.my.id/), we provide a comprehensive financial literacy guide specifically designed for everyone. Discover practical secrets to managing your personal finances, learn smart steps to start investing, and discover effective strategies for generating stable additional income. Whether you're just starting to learn to save or looking for ways to grow your assets, Keygenpost is ready to be your trusted partner, equipping you with the best financial insights on your path to financial freedom. Happy reading.
I remember the first time I opened my utility bill after moving into my new place. My jaw nearly hit the floor. Between the heating costs and the sheer volume of water we were burning through, it felt like I was paying a premium just to take a morning rinse. If you are looking for practical tips for saving electricity and water: drastically reduce monthly expenses, you have come to the right place. Sometimes, the biggest changes come from the smallest hardware swaps.
Installing a low-flow showerhead is one of the most effective ways to slash your utility costs without sacrificing your morning routine. It is a quick, inexpensive project that pays for itself in just a few months. Let’s walk through the process of upgrading your bathroom setup so you can start keeping more money in your pocket.
Why Low-Flow Showerheads Are Essential
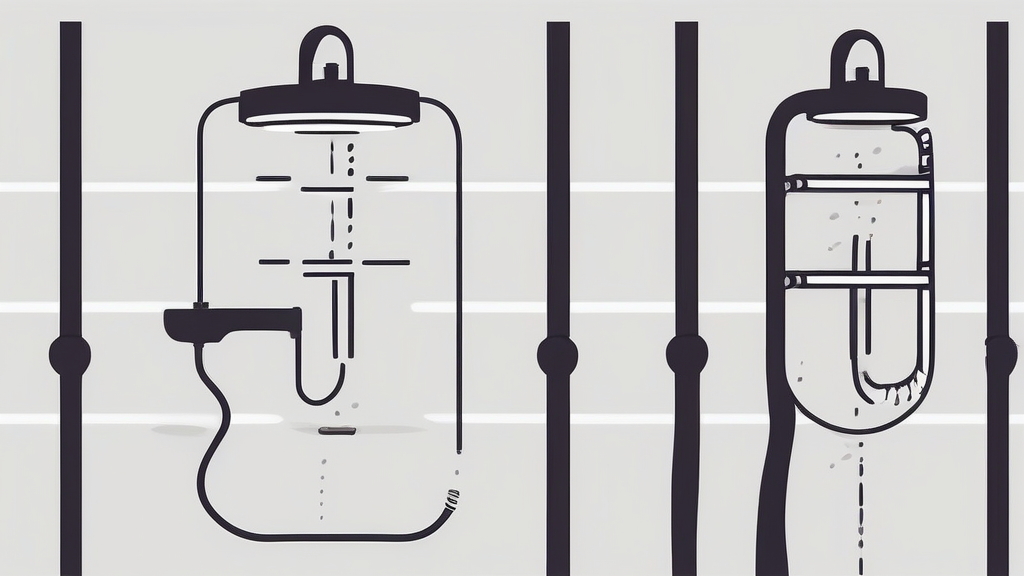
Standard showerheads often blast out water at a rate of 2.5 gallons per minute or more. When you switch to a modern low-flow model, you can cut that usage by up to 50% without feeling like you are standing in a light drizzle. It is all about the internal mechanics that maintain pressure while limiting flow.
Beyond just saving water, you are also saving energy. Think about it: every gallon of water that doesn't come out of your showerhead is a gallon you don't have to pay to heat. By reducing your hot water consumption, you are directly impacting your water heating costs, which are often the second-largest energy expense in a typical home.
Understanding the Impact on Your Wallet
Many homeowners overlook the connection between their plumbing fixtures and their monthly energy bills. However, when you implement tips for saving electricity and water: drastically reduce monthly expenses, you quickly realize that your shower is a primary culprit. A high-efficiency fixture lowers the demand on your water heater, which in turn reduces the electricity or gas required to keep your tank running.
It is not just about the environment, although that is a massive bonus. It is about taking control of your overhead. If you run a household or manage a property, these small adjustments add up to significant annual savings. You are essentially paying yourself to make a simple, ten-minute upgrade.
Tools You Will Need for the Job
You don't need to be a master plumber to pull this off. Most people already have these tools tucked away in their junk drawer or garage. Before you start, gather these items:
- An adjustable wrench (or channel-lock pliers)
- Plumber’s tape (also known as Teflon tape)
- A clean rag or cloth
- Your new low-flow showerhead
Using a rag is a pro tip I learned the hard way. It protects the finish on your existing shower arm so you don't scratch the metal when you apply pressure with the wrench. Keeping things looking professional is just as important as the function, right?
Step-by-Step Installation Tutorial
Ready to get your hands dirty? Follow these steps to ensure a leak-free installation. Take your time, and don't force anything that feels like it’s going to break.
Removing the Old Fixture
Start by gripping the base of the old showerhead with your wrench. Place the rag between the metal and the tool to prevent marring the surface. Turn the showerhead counter-clockwise to loosen it. If it’s stuck, a little bit of penetrating oil can work wonders, but usually, a firm turn does the trick.
Once you have unscrewed it, take a moment to look at the shower arm—the pipe sticking out of the wall. Remove any old, crusty bits of plumber's tape left on the threads. You want a clean, smooth surface for the new seal. This is a great time to check for any corrosion that might need a quick scrub with a wire brush.
Applying the New Seal
Now, grab your roll of plumber’s tape. Wrap it around the threads of the shower arm in a clockwise direction. You want about two or three full wraps. Why clockwise? Because when you screw the new showerhead on, you don't want the tape to unravel. This creates a watertight seal that prevents those annoying drips that waste water and drive up your costs.
Attaching the New Showerhead
Thread your new low-flow showerhead onto the arm by hand. Tighten it as much as you can manually before bringing in the wrench. Use the wrench for only a quarter-turn more to snug it up. Over-tightening is a common mistake that can crack the plastic housing of your new fixture or damage the threads.
Once it’s on, turn on your water to test it. Check for any leaks around the connection. If you see a tiny drip, give it another quarter-turn with the wrench. If it’s dry, you are good to go. It really is that simple.
Maintenance Tips for Long-Term Savings
Installing the fixture is only half the battle. To keep those tips for saving electricity and water: drastically reduce monthly expenses working for you, you need to maintain the equipment. Over time, mineral deposits from your water supply can clog the tiny nozzles of a low-flow showerhead.
If you notice the spray pattern getting wonky, don't rush out to buy a new one. Simply unscrew the head and soak it in a bowl of white vinegar for a few hours. The acidity will dissolve the calcium buildup, restoring your flow to factory settings. It’s a great habit to get into every six months or so.
Beyond the Showerhead
Once you see how easy it is to save, you will probably start looking for other ways to cut back. Efficiency is addictive. Consider installing aerators on your kitchen and bathroom faucets. These tiny mesh screens mix air into the water stream, making it feel like you have high pressure while actually using significantly less water.
Also, pay attention to your water heater settings. Many are set to 140 degrees by default, which is scalding hot and a huge energy drain. Lowering it to 120 degrees is perfectly safe for most households and can save you a noticeable chunk of change on your energy bill every single month.
Common Pitfalls to Avoid
I have seen plenty of DIY projects go sideways, usually because of impatience. Don't try to use a pipe wrench if you don't need to; it’s too heavy-duty and can easily snap the shower arm inside the wall. If you aren't sure if your pipes are standard, take a quick photo of the setup before heading to the hardware store.
Another thing to watch out for is the "flow restrictor." Some people try to remove it to get more water, but that defeats the entire purpose of the upgrade. If you find the pressure is too low, check the manufacturer's instructions before you start tearing things apart. Sometimes, the issue is just an air pocket that needs to clear out.
Final Thoughts on Home Efficiency
Taking the time to install a low-flow showerhead is a small investment that yields big returns. It is one of the most practical tips for saving electricity and water: drastically reduce monthly expenses that any homeowner can implement today. You get the benefit of lower bills, and the planet gets a break from unnecessary resource consumption.
Don't wait for your next utility bill to shock you into action. Grab a wrench, pick up a high-quality efficient showerhead, and tackle this project this weekend. You will be surprised by how satisfying it feels to turn on the shower and know that you are running a more efficient, cost-effective home. Your wallet will certainly thank you.
Please leave a comment so that I am more enthusiastic about making articles on this website and more enthusiastic about living an incomparable life.
Post a Comment for "How to Install Low-Flow Showerheads: A Step-by-Step DIY Tutorial"